Server Migration Center (SMC) lets you migrate ECS instances across zones and regions. You can migrate instances from other Alibaba Cloud accounts and create them as ECS instances or custom images in your current account. The source instance can remain running during the migration, and SMC supports incremental data migration.
Prerequisites
Understand the migration impacts and complete the migration preparations.
Ensure that an ECS instance exists in the source account.
The source server must be in the Running state and have the Cloud Assistant Agent available. For more information, see View the status of Cloud Assistant Agent and handle exceptions.
Preparations
If you use a RAM user to import the migration source, you must grant the `AliyunSTSAssumeRoleAccess` permission to that RAM user in the destination Alibaba Cloud account. This permission allows the user to call the Security Token Service (STS).
Log on to the RAM console using the destination Alibaba Cloud account.
In the navigation pane on the left, choose Users and then click the logon name of the target user.
Choose .
On the Add Permissions page, enter `AliyunSTSAssumeRoleAccess`, select the policy, and then click OK.

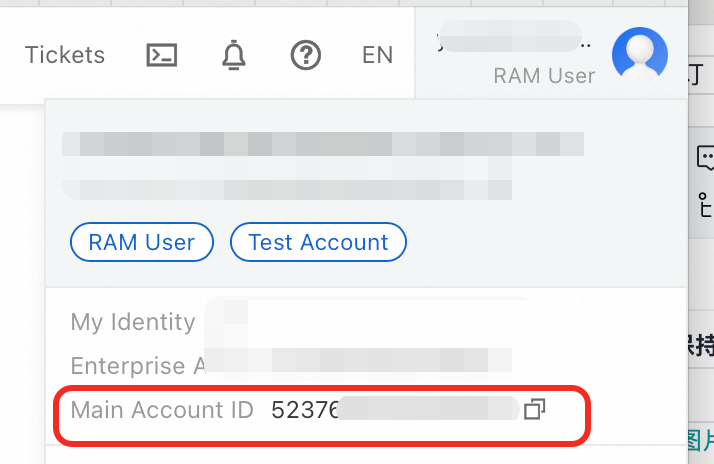
Record the Alibaba Cloud account IDs for the source and destination accounts.
Log on to the Alibaba Cloud Management Console using the source and destination accounts.
Hover over the profile icon in the upper-right corner to view the Alibaba Cloud account ID.

Step 1: Grant permissions in the source account
Log on to the RAM console using the source account that owns the ECS instance. This account must have permissions to manage RAM. Then, create a role and grant permissions to it.
Create an access policy.
In the navigation pane on the left, choose . Click Create Policy.

Click the Script tab. Replace the existing script with the following policy and then click OK.
{
    "Version": "1",
    "Statement": [
        {
            "Action": [
                "ecs:DescribeZones",
                "ecs:DescribeInstances",
                "ecs:DescribeSecurityGroupAttribute",
                "ecs:DescribeSecurityGroups",
                "ecs:DescribeSnapshots",
                "ecs:DescribeImages",
                "ecs:DescribeDisks",
                "ecs:DescribeCloudAssistantStatus",
                "ecs:RunCommand",
                "ecs:DescribeInvocations"
            ],
            "Resource": "*",
            "Effect": "Allow"
        }
    ]
}
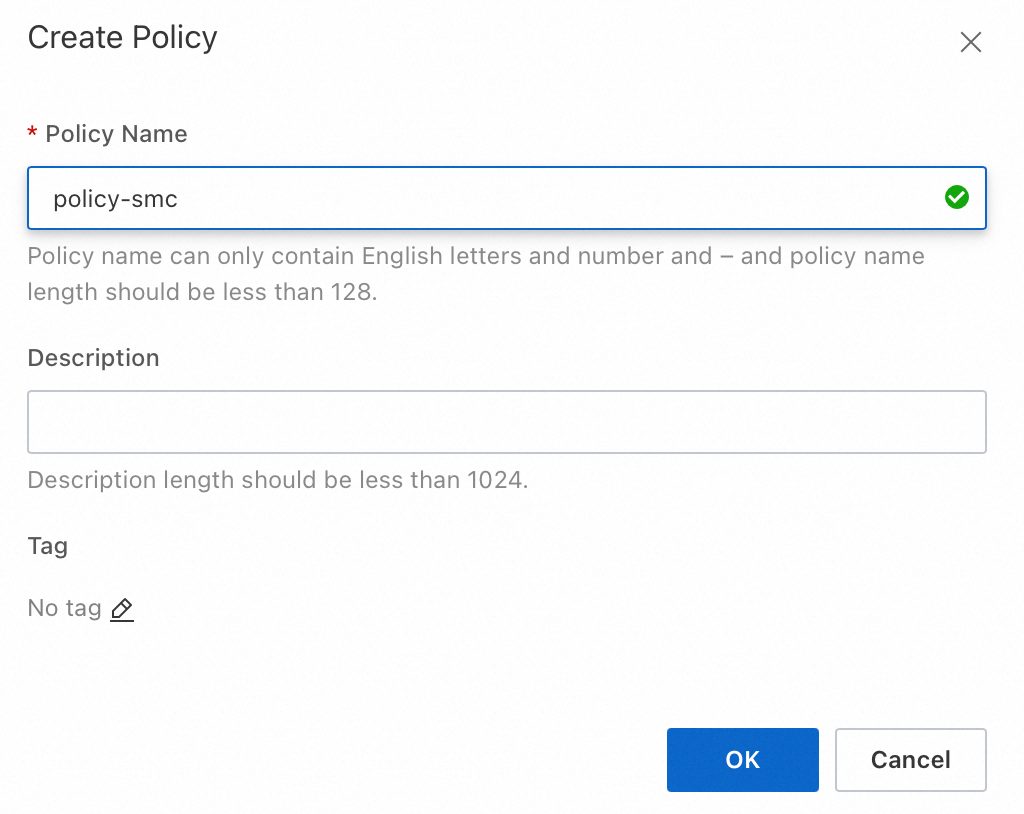
In the Create Policy dialog box, enter `policy-smc` as the policy name and then click OK.

Create a role.
In the navigation pane on the left, choose . Click Create Role.

For Select Trusted Entity, select Alibaba Cloud Account. In the text box, enter the Alibaba Cloud account ID of the destination account.

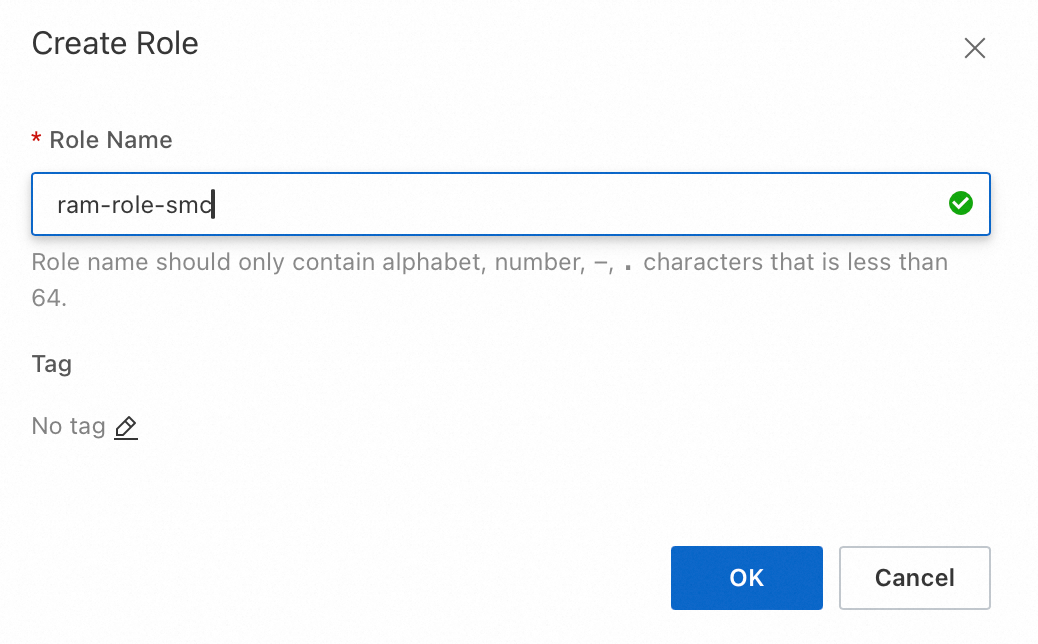
Click OK. In the Create Role dialog box, enter a custom role name. For example, `ram-role-smc`.

Grant permissions to the role.
On the Roles page, click the name of the role that you created to open the role details page.

Click the Permissions tab and then click Grant Permission.

On the Grant Permission page, select Custom Policy. Enter `policy-smc`, which is the access policy that you created in Step 1, and then click OK.

Step 2: Import the migration source in the destination account
Log on to the SMC console using the destination account. In the navigation pane on the left, choose Cross-account/Intra-account Migration.
On the Server Migration page, click Import Migration source.
Configure the parameters as prompted and copy the activation code command. The following table describes the parameters.
Parameter
Description
Migration Source Type
Alibaba Cloud ECS Server.
Import Method
Select Console Import.
SMC remotely connects to the source server from the console to automatically import the migration source. The import process automatically invokes Cloud Assistant. Do not interrupt or exit this process.
Cross-account Migration
Cross-account.
Alibaba Cloud Account Of Source Server
Enter the Alibaba Cloud account ID of the server that you want to migrate. This is the source Alibaba Cloud account ID.
Role Of The Source Server's Account
Enter the role that you created and authorized in Step 1. For example, `ram-role-smc`.
Region
From the drop-down list, select the region where the server that you want to migrate is located.
Instance
Search for and select the ECS instances that you want to migrate in the specified region. You can search by instance ID, instance name, or IP address. You can select multiple instances to perform a batch import.
After you configure the parameters, click Import.
SMC automatically starts the Cloud Assistant Agent to perform the import. The import process takes about 3 to 10 minutes. Please wait.
On the Cross-account/Intra-account Migration page of the SMC console, view the status of the migration source in the Real-time Migration Status column.
If the status is Online, the import is successful.
NoteDuring a cross-account ECS instance migration, the public IP address of the source instance may not be displayed, the operating system may not be fully identified, or the instance status may not be recognized. This is expected behavior and does not affect the migration task.
If any other status is displayed, the import failed. Troubleshoot the issue using the following solutions and then re-import the source.
You can troubleshoot the issue based on the error message in the console or by viewing the SMC client log file. The default installation directories of the SMC client are:
For a Windows server: C:\smc.
For a Linux server: /smc.
For information about common issues and solutions, see SMC FAQ and Troubleshoot errors.
Step 3: Configure the migration in the destination account
Find the migration source that you want to manage and click Start Migration in the Actions column.
Configure the parameters and click Start Migration.
Configure the basic parameters described in the following table.
Parameter
Description
Example
Migration Job Name
The name of the migration job.
Server migration
Job Description
The description of the migration job.
test
Destination Type
Required. The type of the destination. Select a destination type based on the actual migration scenario.
ECS Image
Migrate the source server to an ECS custom image and then use the custom image to create an ECS instance.
If you set the Destination Type parameter to ECS Image, the following parameters are displayed:
Destination Region: the Alibaba Cloud region to which you want to migrate the source server. This parameter is required. For more information about regions, see Regions and zones.
Image Name: the name of the destination custom image generated by SMC for the source server.
ECS Instance
Migrate the source server to an existing ECS instance whose configurations such as storage and operating system match those of the source server.
ImportantDuring the migration, the operating system of the destination ECS instance is replaced, and automatic snapshots of the system disk are released and cannot be recovered. If you want to retain automatic snapshots for future needs or for data security considerations, you can manually cancel the release of automatic snapshots together with the disk before the migration. For more information, see Delete automatic snapshots while releasing a disk.
If you set the Destination Type parameter to ECS Instance, the following parameters are displayed:
Destination Region: the Alibaba Cloud region to which you want to migrate the source server. This parameter is required. For more information about regions, see Regions and zones.
Destination Instance: the ECS instance that is used as the destination instance.
ECS Image
Migration Test
Specifies whether to enable the migration test feature. This feature helps you understand the feasibility and risks of a migration job before the migration job starts and provides solutions to identified issues. You can also obtain information such as the amount of data to be migrated, migration speed, and total duration of the migration. This helps reduce the issues and losses that may occur during the actual migration. During the test, you are charged for pay-as-you-go resources. By default, Migration Test is turned on.
WarningIf you set the Destination Type parameter to ECS Instance, snapshots are created for all disks of the destination ECS instance. If the migration test is abnormal or the Execution Method parameter is set to Test Only, the disk snapshots are automatically rolled back. During the migration test, the destination ECS instance is unavailable and all data is lost. Make sure that the destination ECS instance does not have important data.
For more information, see Configure a migration test.
Keep the default setting
Execution Method
The mode in which the migration job is run. Select an execution method based on whether Migration Test is turned on.
When Migration Test is turned on
Test Only: The system performs only the migration test. After the migration test is complete, you must manually start the server migration job.
Test and Migrate: The system performs the migration test. After the migration test is complete, if no test items are in the Critical state, the system automatically starts the server migration job. This is the default value.
When Migration Test is turned off
Migrate Now: The migration job starts immediately after it is created. This is the default value.
Migrate Later: The migration job automatically starts at the specified time after it is created.
NoteThe earliest time that you can specify to run a migration job is 10 minutes after the job is created.
Create Only: After the migration job is created, you must click Start Migration Job in the Actions column to manually start the migration job.
Keep the default setting
Automatic Incremental Synchronization
Specifies whether SMC automatically synchronizes incremental data of the migration source to Alibaba Cloud. By default, this feature is disabled.
If you enable this feature, you must configure the following parameters:
Synchronization Interval: the interval at which SMC automatically synchronizes incremental data to Alibaba Cloud.
Maximum Reserved Images: the maximum number of images that can be retained during incremental data synchronization.
SMC automatically synchronizes incremental data to Alibaba Cloud at the specified interval. For more information about the best practices for incremental data synchronization, see Migrate incremental data from a server.
If you disable this feature, incremental data is not synchronized.
Keep the default setting
Enable Migration Template
If you set the Destination Type parameter to ECS Image, this parameter is available.
The migration template is used to preset parameters for a migration task, and the template parameters are automatically filled in when the migration starts. For more information about setting up a migration template, see Configure the migration template.
Keep the default setting
Adjust the disk partition structure as needed. The following table describes the parameters.
Parameter
Description
Example
Modify Disk Partition
Determine whether to enable Modify Disk Partition based on your needs. This feature is only supported in SMC client 2.8.0 or above. For more information, see Use the SMC client.
Not enabled: By default, the disk partition structure of the destination system are the same as those of the migration source.
Enabled: You can adjust the destination disk partition structure, including partition size and order, transfer method, whether to enable LVM, and other configurations.
Keep the default setting
In the message that appears, read the migration notes and click Got It.
On the Cross-account/Intra-account Migration page, view the real-time migration status.
If you enabled the migration drill feature, SMC performs the drill first. The transmission time is affected by factors such as the data volume and network bandwidth. Wait for the migration task to complete.
 Note
NoteSpeed: The amount of data transmitted per second. This value represents the transmission speed of uncompressed data. If you set Compression Ratio to a value greater than 0 when you created the migration task, the displayed speed is higher than the actual network transmission speed, which is the speed of compressed data.
Remaining Sync Time: The estimated time remaining for the synchronization to complete. This is calculated as (Total Data - Transmitted Data) / Speed.
If the transmission speed is too low, you can temporarily increase the fixed bandwidth of the source and destination servers. For more information, see Estimate migration time and test transmission speed.
Optional. To view details about the migration, perform the following steps:
Verify the migration result
Clear resources
Relevant references
If you need to migrate incremental data multiple times, you can initiate incremental data migration multiple times at custom intervals after the first full migration is complete. This synchronizes the incremental data generated by the source server to Alibaba Cloud and reduces the suspension time and delivery time of the services provided by the source server. For more information, see Migrate incremental data from a server.
For more information about frequently asked questions (FAQ) and solutions, see FAQ and Errors occurred during a server migration.

 before the mount target.


 > Clear migration task